A DECADE OF MARVEL STAR WARS COMICS!
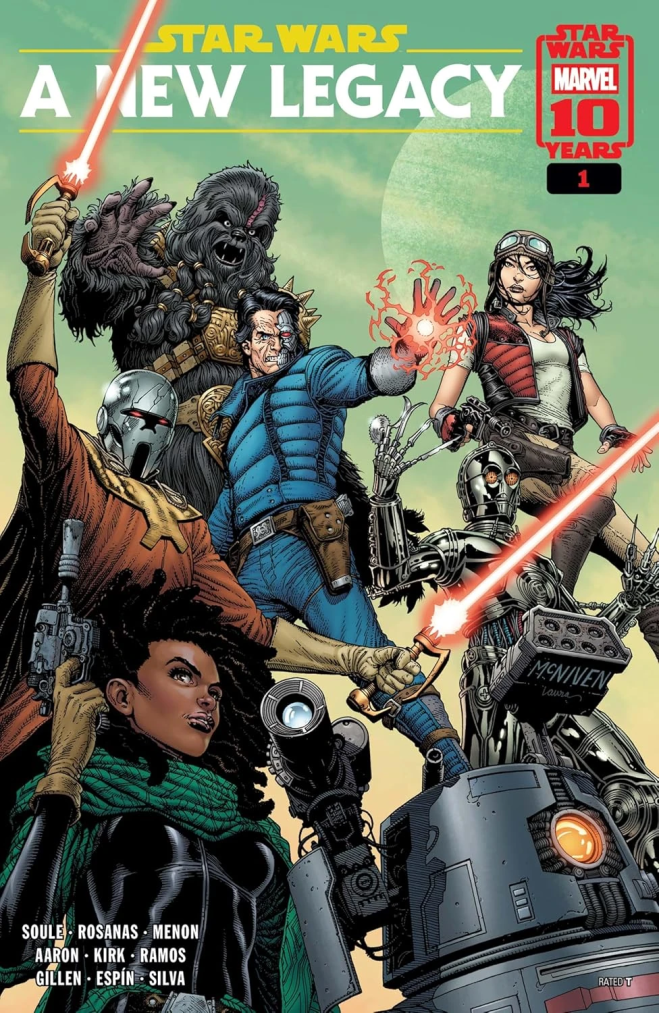
Celebrate ten years of MARVEL STAR WARS comics with all-new stories by some of the most influential creators of the decade.
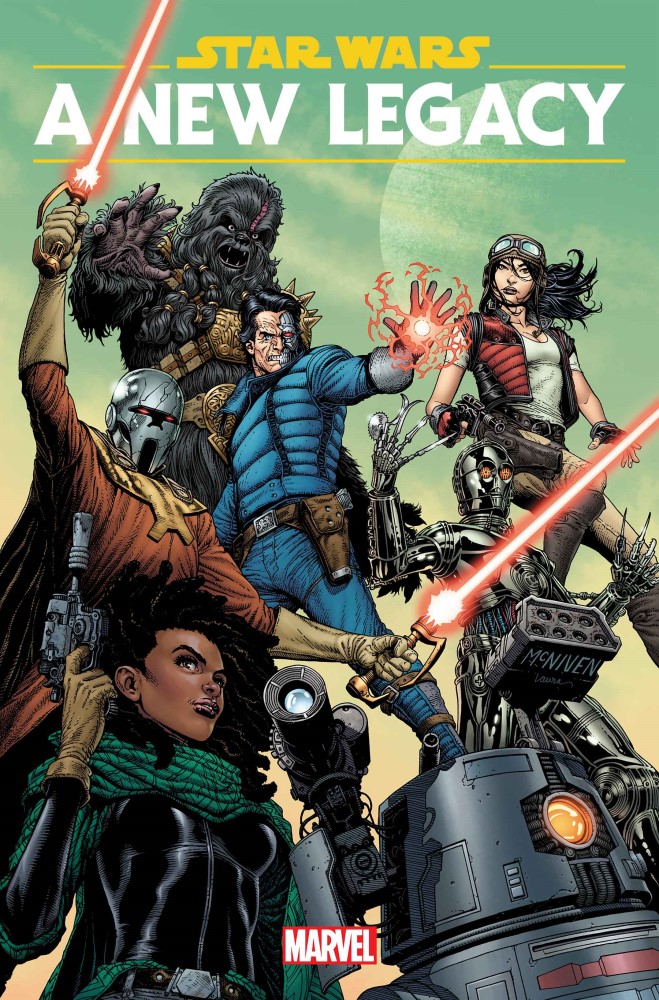
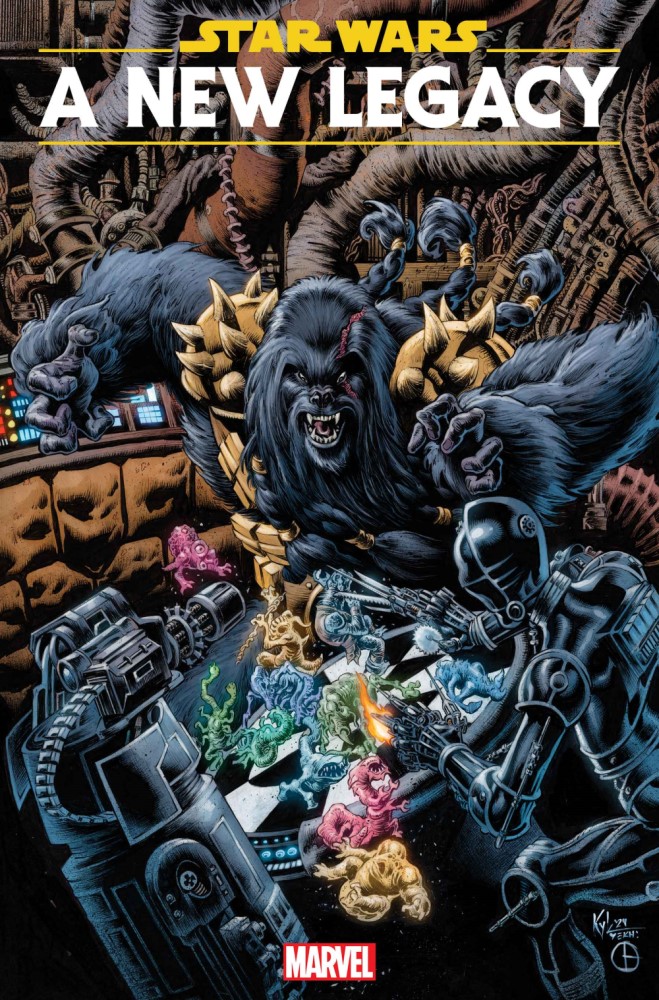
Thrill as DARTH VADER, GRAND MOFF TARKIN, DARTH MOMIN, DOCTOR APHRA, VALANCE, CHANATH CHA, RIK DUEL, COMMANDER ZAHRA, THE TAGGES and more collide during a grand Imperial event thrown by PALPATINE. Gasp (and laugh) at a perilous game between 0-0-0, BT-1 and KRRSANTAN! And what ever happened to SCAR SQUADRON?
Writers: Charles Soule, Jason Aaron, Kieron Gillen
Artists: Ramon Rosanas, Leonard Kirk, Salva Espín
Colorists: Neeraj Menon, Jay David Ramos, Israel Silva
Letterer: Clayton Cowles
Cover artist: Steve McNiven
Editor: Mark Paniccia
Publication date: January 29 2025
We’re heading into a new era of Star Wars comics, and kicking off proceedings is this, a one-shot of short stories written by Charles Soule, Jason Aaron and Kieron Gillen. With Ramon Rosanas, Leonard Kirk and Salva Espín on art duties it’s a lavihs issue to read, taking us to a time before Episode IV and during the original trilogy. Let’s dive in.
Opening proceedings is ‘The Grand Imperial Jubilee‘ by writer Charles Soule, artist Ramon Rosanas and colourist Neeraj Menon, which sees the story open on Alderaan two years before the Battle of Yavin (and the destruction of said world) where the Third Decennial Imperial Jubilee is being ‘celebrated’, commemorating thirty years of Emperor Palpatine’s ascent to the role of Supreme Chancellor. It’s clear that this is a celebration that must be meticulously observed and presented, with artwork from across the galaxy and the Emperor himself travelling from Coruscant to Alderaan. Nothing can go wrong – an unlikely hope as we watch the Imperials through the macrobinoculars of Doctor Aphra and Sana Starros as they watch from a distance. Aphra sniffs a huge score, while Starros suggests caution, but we know Chelli Aphra well – caution isn’t one of her strongpoints, and while they’re there to steal one specific statue, Aphra is open to lifting more if they can.
We watch the Imperials continue their preparations, readying themselves for the arrival of Grand Moff Tarkin and cut to another pair of observers keen to plunder the party, Valance and Rik Duel. In this case, plundering means acquiring a bounty, one of the head of Doctor Aphra, and as they move in we cut back to the party and two inquisitive Stormtroopers who are keen to see more of this opulent party which appears ot have attracted Hutts, Black Sun and more to the throng. The pair of troopers find some of the artworks brought to the event, and one is keen to try on a mask he has found, and as his colleague walks back to his duties we see the trooper remove his helmet and don the mask, and immediately be taken over by the spirit of the mask – an artist, who wraps a flag around them to obscure the Stormtrooper armour and heads into the party. We see Aphra brazenly moving through the room, checking out the antiquities while a nervous Starros encourages her to hurry up and see the artist looking around for a specific piece.
There are familiar faces in the crowd, including Barpotomous Drebble from the original Marvel run, and someone with long red hair in black who could be….but our attention is turned by the artist finding a huge (nine meter tall huge) piece as Aphra and Starros arrive, realising it’s the piece they’re there to steal as the artist notices the artwork is attributed to ‘artist unknown’. Then we learn the artists name – Lord Momin (a character that has been seen and mentioned in numerous comic and books since issue 3 of the Lando mini series back in 2015), who angrily claims no one deserves the gift of this artwork and we see the statue rise as projectiles shoot out of the statue as Momin yells ‘say my name!’. Tarkin and his underlings decide to end the problem with extreme prejudice as Aphra and Starros bug out, only to be blocked by Valance and Duel who are there to apprehend Aphra. Starros persuades them to pause that idea while they’re deep in Imperial territory and they agree a truce to fight their way out, as Lord Momin holds off the Imperial assault and we see Commander Zahra leap in with her blade to run through the trooper possessed by the spirit of Lord Momin and knocking off the mask.
We see the fleeing four leap through a window, and as Valance intends to continue with his bounty capture Aphra agrees, asking if Sana can be spared. Valance agrees, and they shake on it, meaning Aphra is able to use her electro-tattoos to shock Valance as Starros gets the jump on Rik Duel. Aphra tells Duel to let Valance know that she only loaded half of the databomb into her handshake, meaning he was disabled rather than killed, and we end with Aphra revealing that she did steal something from the party, a ‘fancy’ key and asks Starros if she wants to join her and find out what it opens.
Next up is ‘For The Love Of The Empire‘ by writer Jason Aaron, artist Leonard Kirk and colourist Jay David Ramos, which focuses on Scar Squadron (aka Task Force 99), the elite Imperial squadron first seen in issue 19 of the 2015 run of the main title. We open on Yelsain, in the ‘far Outer Rim’ as a rebel recruiter tries to bring more fighters to the rebellion, but not before he is assassinated by Scar Squadron, who quickly move in to ask the crowd of they are loyal Imperial citizens of rebel scum? One of the throng shouts ‘death to the Empire!‘ and is quickly cut down as Seargent Kreel takes his troops back to their shuttle and away from the planet, and he remembers a time when their exploits were feted by the galaxy.
We then learn more about the life of Task Force 99, on the periphery of the Empire, scavenging for food and fighting on numerous worlds, years removed from their respective homes. They believe they bring order where the rebels only offer chaos, and curse the guerilla tactics which saw their hulking comrade Zuke sacrifice himself on a pair of grenades. They remember a world called Horford, from years before, where the kids ‘played’ as Imperial troopers, a visceral reminder of just what they were fighting for, and three weeks later they return but only see the scared faces of the people, and safter the Death Stars destruction instead of playing as troopers they find the young children dressed as our rebel heroes. Seargent Kreel realises they’ve lost the battle of hearts and minds, but determined as ever he allows his troops to attack the people and we end with his claim that Scar Squadron will be remembered as heroes.
Finally we have ‘Rogue’s Gambit‘ by writer Kieron Gillen, artist Salva Espín and colourist Israel Silva which opens with Doctor Aphra, 000, BT-1 and Krrsantan looking for something to fill their time between job as Darth Vader is otherwise occupied. The wookiee bounty hunter and BT-1 are playing dejarrik, a familiar scene but in the hands of these characters a very different proposition as their short tempers mean 000 threatens Krrsantan by reminding him an errant blaster bolt would remove the oxygen from the ship which wouldn’t harm the droids, which leads to the wookiee attacking the droid. Aphra is surprised by the noise, but all stops when Vader enters the ship, reminding them all that he is the ultimate boss and the quartet contritely agree.
An enjoyable trio of stories, and while hardly essential to this new era it does place some familiar characters back in our line of sight, kick off a new Chelli plot thread with the stolen key and bring to conclusion one of the members of Scar Squadron. Great art, interesting plots and spot-on characterisations makes this a fun read.
