

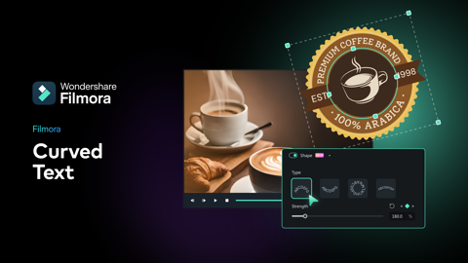
Curved text in your graphics can significantly enhance the look of the designs and draw the audience’s attention. The curved text adds a unique, pleasing twist to the developed content when developing content to post on social media platforms, fliers, brochures, or working on personal content projects. Filmora, an all-in-one editing software, can be used for projects with simple options to insert curved text into the graphics. Let’s see how to do it and why using Filmora is the best solution to achieve this goal.
The Benefits of Using Curved Text in Graphics
Curved text is still text, but unlike most other forms of written text in graphics, it has some significant advantages.
- Visual Engagement: It creates a sense of depth in your designs, giving them more character and, therefore, increasing their interactivity.
- Space Utilization: It may better adapt to irregular spaces and give you more freedom to add anything to your graphics.
- Design Flexibility: It provides more choice in the layout of a graphic, as the text can be wrapped around other elements of the image.
Getting Started with Filmora for Graphic Design
Filmora is a very effective tool for creating graphics. Its simple and efficient features make it easy to handle and understand. This tool can teach novice designers a few essential concepts and provide quick refreshers to those who already know the basics.
Step-by-Step Tutorial to Adding Curved Text in Filmora for Graphics
Here’s how to add curved text to your graphics using Filmora:
Step 1: Import Your Graphic
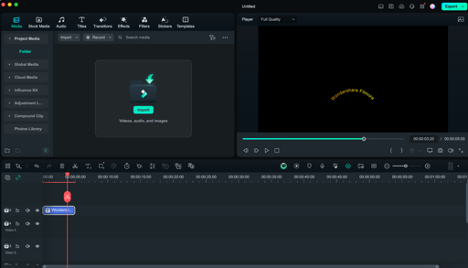
Go to Filmora and import the image file you want to edit. Click on “Import” and open the file on the computer. Click on the graphic of your choice and drag it to place it at the desired point on the timeline.
Step 2: Choose the Text Tool.
Click on the “Titles” option at the top of the page. Filmora provides options for adding text in various formats. Select a “Plain Text” format for working with a text box without formatting features and put it onto the timeline.
Step 3: Add Your Text
Double-right-click on the text box in the preview window to edit the text. Type in the text that is to be placed in the graphic.
Step 4: To apply Curved Text.
Double-click on the text box to get additional options for your text. Enable the “Shape” option to start curving your text. Drag the curvature slider by moving the slider to achieve the required curvature on the text.
Step 5:Customize Your Text.
Filmora provides various customization options to make your curved text look perfect:
Font Style: A broad spectrum of fonts is available to match the graphic properly in the text.
- Size and Color: You can resize the text and color to be easily noticeable and harmonize with the rest of the design features.
- Effects and Animation: Superimpose your text with shadows or lines if you want to have a more polished look to your text.
Step 6: Position the Text
Once you have successfully created your curved text to your liking, place it on your graphic. Simply place the cursor at the text wherever you want to put the click and drag the text to the corresponding position. You can see the text in the correct position in the preview window.
Step 7: Save and Export
Ensure the preview box does not have distorted, shifted, or altered text. Once you’re happy with the curved text in your graphics, go ahead and save your project. Then, save the graphic and export it in a format suitable for use in different projects.
Exploring the Creative Potential of Curved Text
Curved text can not only make your graphics beautiful but more engaging, too. With better texture, your graphics become more dramatic, eye-catching, and professional-looking. Here are some creative ways to utilize curved text in your designs:
- Circular Logos and Badges: To give a professional look to the logos, it is possible to create circular logos and badges containing curved text.
- Social Media Graphics: By putting your message in a curve, curved text can be effectively incorporated into the social media post to make it shareable and eye-catching.
- Event Invitations: Create invitations for events using curves in the text to make the invitations look elegant.
- Marketing Materials: Curved text enhances flyers, brochures, and posters in different industries such as arts or marketing.
Making the Most of Filmora’s Features
Filmora offers a range of features that make it an excellent choice for graphic design:
- Pre-Made Templates: Choose from an extensive list of templates available and easily modify them to suit your specific needs.
- Effects and Transitions: Extend the effects and transitions of your text and graphics to improve your graphics.
- Layering Options: Experience the features of layering your videos by overlaying images or captions with Filmora.
- Audio Editing: If your video includes graphics or diagrams, you can add sound effects or background music using Filmora’s powerful audio editing tools.
The Curved Text feature adds creativity to your designs, making the result eye-popping and polished. Compared to other film editing platforms, Filmora has made adding curved text easy through its user-friendly tools with advanced features available. If you follow these guidelines when creating a graphic, you can develop impressive creatives that are will-bitten attention grabbers and great message carriers. So, explore text features in Filmora and try this feature today.