


An intercommunication (intercom) device or doorphone is a complete voice communication system used within an establishment, home, or collection of buildings. It functions as an independent public telephone network.
It is also a series of electric circuitry for voice communications, and it is its major focal point. In case this system has a music feature installed, the master station will contain a tape or radio player attached.
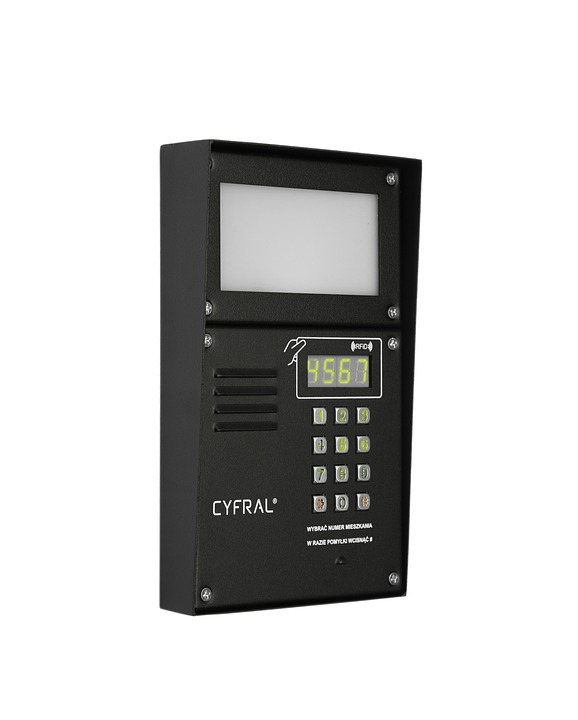
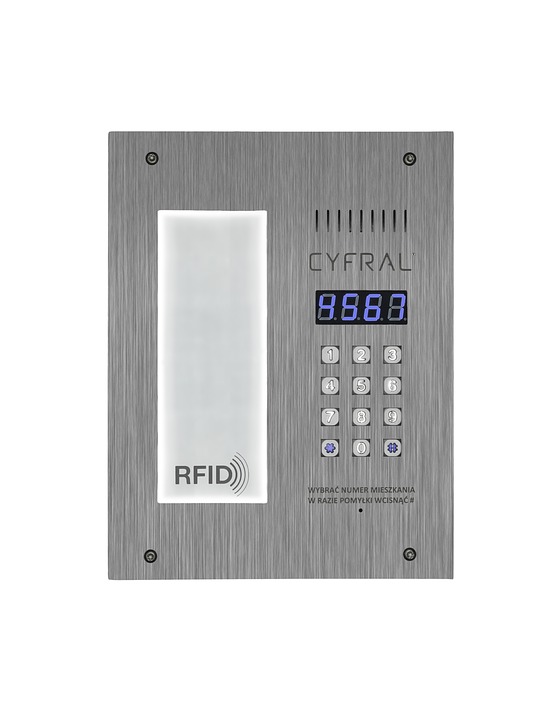
A standard intercom installation comprises a master station built at an accessible location, as well as both indoor and outdoor substations. Oftentimes, the outdoor intercom station is situated at the front door of your house. It includes a button for chimes or a doorbell.
If you wish to install one at home, below are simple guidelines on how to install an intercom system to your door.
Step 1: Station Box Inspection
The installation process should start by inspecting the station box. This is to check how big an opening must be trimmed for the intercom to fit. After, choose the location for your master station.
Generally, the manufacturer gives a flange or bracket with holes for the screws. These are used to mount and install the master station within a wall. After making some important measurements to see the shape and size of the master station hole, locate the screws within the wall.
The hole you trimmed should be situated between the screws inside the wall. Height should be convenient enough above the floor — 5 feet is an ideal measurement for both tall and short people. After, trace the shape of the master station hole using a pencil.
At the four angles of your penciled outline, drill into the wall ⅜-inch holes. After, use a saber saw to cut out the holes intended for your master station. The station box should be set in place to ensure that it fits the drilled holes. If needed, you may trim the hole’s edges. Do the same with the substation points until you are done with the wiring installation.
Step 2: Master Station to Home Electrical System
Only attached the master station to the electrical system of your home. Other substations should be connected to the master station according to the instruction shown on your circuit diagram leaflet. This should be included in the box when you buy your intercom system.
Ensure that wires are well-hidden so that the entire setup will look neat and tidy. Operate every wire up to the opening of the master station according to the location of its substation. Pressure-sensitive tapes are effective to distinguish the wires.
Step 3: Trim Molding for Protection
Attach the wires to the terminals on your substation system at every substation location. Follow the color code identification that you can find alongside the terminal screws. The substation units must be attached to the wall stud, and connect them to the trim molding.
This trim molding should surround the substation unit perimeter to hide the opening cut edges in the wall. Just make sure that the master station is disconnected from the electrical system of your home during the installation process.
If the master station connected to the power system is linked to the transformer, put the transformer near the main entrance section. Connect it to the electrical system afterward as per the manufacturer’s user instructions.
Step 4: Power Lines and Master Station
Connect all power lines and substation wires to the master station. Make sure that the connections are according to the labels on the terminal connections of the master station. Affix the master station securely to the wall screws, and fasten the trim molding. Restore electricity to the circuit once done.
Step 5: Intercom System Testing
Test your intercom system to see if it works properly. If you use batteries for your master station, make sure to replace them on a regular basis. Also, take note that if the master station is connected directly to your electrical system, ensure to disconnect the circuit.
As much as possible, take precautionary measures to avoid possible accidents because someone might turn the power on while you’re working on the circuit. If there is any defective substation unit, make sure to replace it with a new one. This alone can determine if the problem is due to faulty wiring or a broken intercom system.
You can then make the necessary fix right away. Just take note that if it’s a battery-powered intercom, replace the batteries regularly.
Conclusion
An intercom system installation is not that difficult, however be mindful of every detail for the system to work. Just like how you can self-install a Cat5e ftp cable at home, which require attention to detail since it also involves different installation of wires. If you’re not confident how, better ask for any intercom system company installer in your area for assistance.
References:
https://home.howstuffworks.com/how-to-install-a-home-intercom-system1.htm