

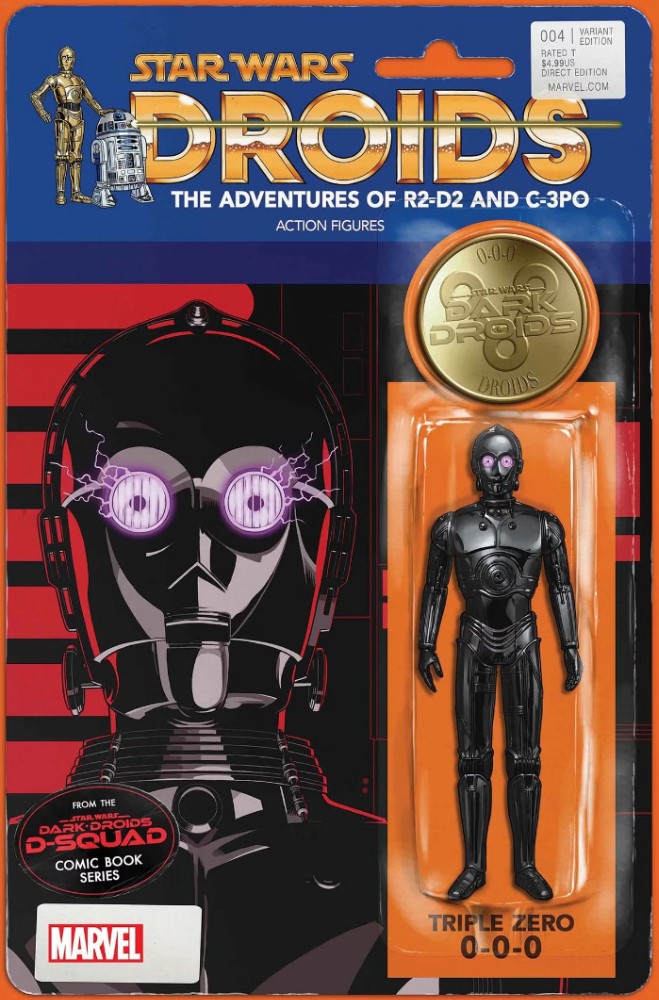
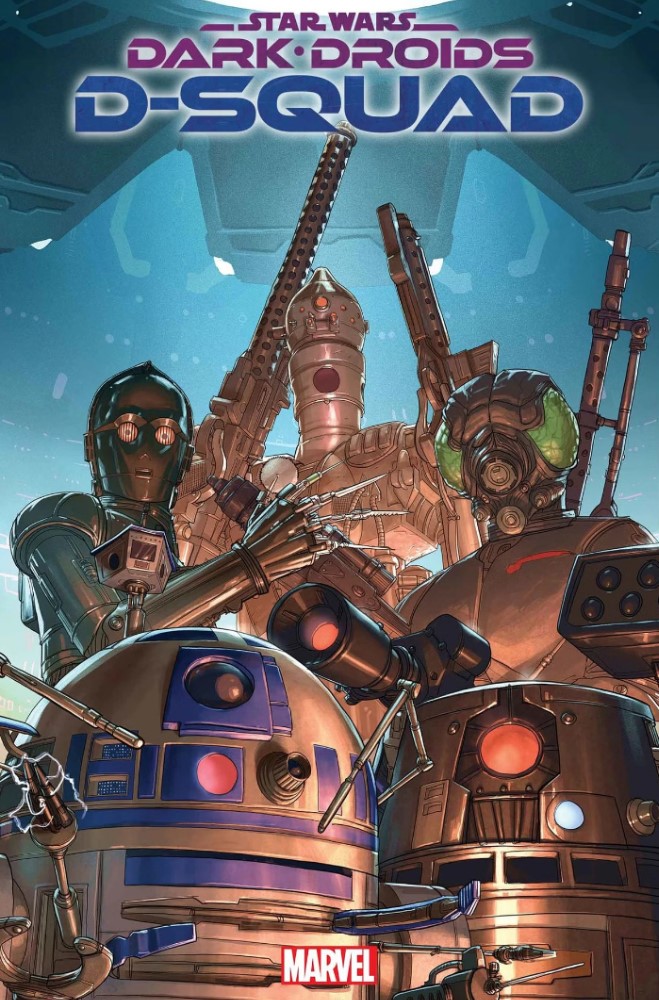
Dark Droids: D-Squad #4
“RISE OF THE D-SQUAD”
The SPARK ETERNAL has merged with an ancient droid intelligence to become something new and terrifying.
This SCOURGE is corrupting droids on both sides of the GALACTIC CIVIL WAR.
ARTOO-DETOO and his band of fellow droids have learned of a group trying to stand against the Scourge: THE COLONY OF THE SECOND REVELATION.
But before this newly formed “D-Squad2 could learn the Colony’s location, they were attacked by a group of corrupted Imperial droids….
Writer: Marc Guggenheim
Artist: Salva Espin
Letterer: Joe Sabino
Colorist: Israel Silva
Cover artist: Pete Woods
Editor: Mark Paniccia
Publication date: December 6, 2023
We open where we last left our tin-acious heroes, fighting the attacking forces of the scourge as Artoo stands over the prone body of QT-KT who has been immobilised after a blast from a scourge droid. 4-LOM advises Artoo leave her behind, as they already have the information they require from her, but he frefuses to leave his friend behind and instead jolts her with a charge powerful enough to wake her up. Bumping gently against him in thanks their moment is spoiled as a disconnected scourge droid head smashes into the wall behind them, and 000 walks towards them, reminding them of the dire predicament they’re in, and Artoo and QT lead the charge as they take on more droids. 000 is frustrated at the appalling lack of blood when killing droids, but soon the fight is over and our droids are heading to Mos Eisley spaceport on Tatooine, where the droids discuss Ajax Sigma and Jabba’s potential interest in him (something we know from Marc Guggenheims run on the energetic Han Solo & Chewbacca 10-part series from last year). Ajax is the key to ending the scourge, and Jabba wants the droids neural core, so Artoo decides he needs to enter the palace and we see his cobbled ‘outfit’ and as they approach the palace the familiar shape of the Millennium Falcon tucked away between rocks.
4-LOM and IG-88 walk Artoo and QT to the front gate, telling the eye-on-a-stick sentry droid that they’re a gift for jabba. The sentry asks if they are there to help with the ‘droid problem’, and the two bounty hunters say ‘yes’, allowing them access to move through the corridors and find the palace’s primary databank. IG-88 and 4-LOM hang back, letting Artoo and QT to move in when the two droids bump into Lando Calrissian and Lobot who spot the two astromechs, Lando vaguely remembering Artoo but too busy in the moment to hang around, keen as he is to get his friend Lobot to safety.
Minutes later the two droids navigate a flight of stairs and break into the primary databank, where they’re confronted by numerous scourge droids, who remind them both how much trouble they’ve caused and wisely Artoo and QT flee, zapping droids as they go. Artoo causes a distraction, drawing the droids away as QT hacks into the database and we see Artoo zap the remaining droids as they reunite with IG-88, 4-LOM, 000 and BT-1 with the coordinates to find Ajax Sigma on Mechis III. There, we see them land as Ajax remembers those who believed in him and perished, and turns to see the familiar dome of Artoo. 000 explains that they’re all killers, and that they need his help to defeat the scourge. For his part, Ajax believes them all to be ‘visioned’, and as he explains the revelations – the first being ‘i‘, the second ‘we‘ and the third ‘them‘ – he agress to join the fight.
Oh yes, now we’re cooking. The Dark Droids storyline is rolling towards its conclusion, and while these many crossovers mean we’re treading over moments again and again, there’s enough in these unique perspectives to make it more than worthwhile. Here, we see Lando and Lobot escape the palace as they did in Star Wars #38, while Artoo and QT roll down the same corridor on their mission in this 4th issue. Now, with only a handful of issues of the storyline left and 1 more issue of Dark Droids, you have to think that future D-Squad mini series – be they standalone or part of wider overarching plots – would be most welcome.