

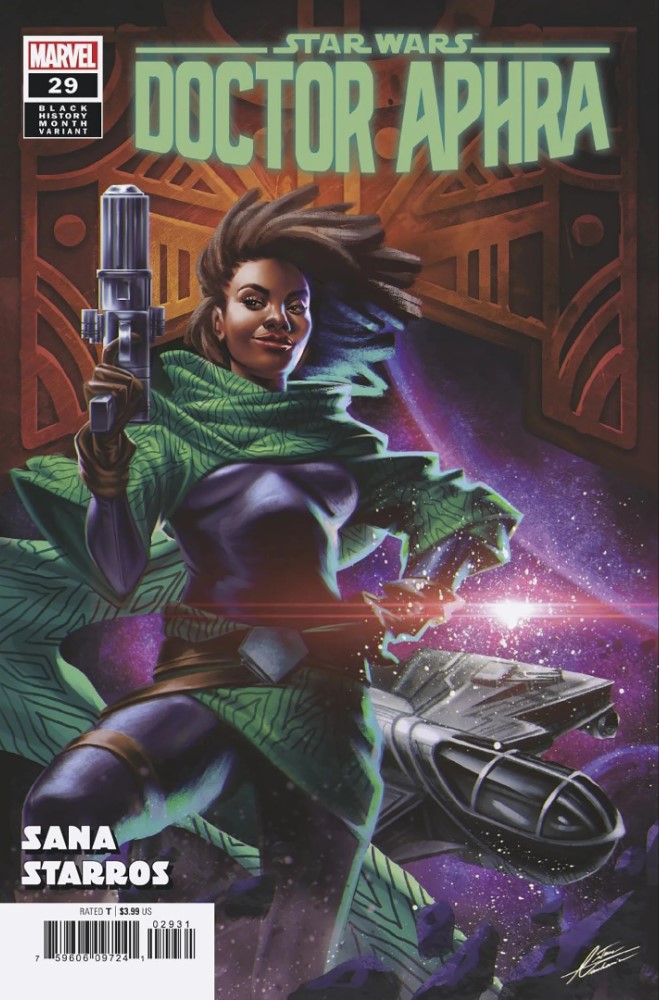
Doctor Aphra (2020) #29
BALANCE
After a grueling possession and a cunning hack, Aphra has finally regained control of her body and established a tentative truce with the Spark Eternal. True to the mission of the Ascendant, and its creator, Miril, the Spark declared its intention to hunt the Sith.
Meanwhile, the use of the exploitative Ronen Tagge’s medical technology left Sana and her team in enormous debt. Sana’s team then joined Ronen’s Crimson Dawn force to usurp his aunt Domina as head of Tagge Corporation. However, Sana betrayed Ronen and extracted a confession of his misdeeds in exchange for Domina erasing her crew’s debt.
Freed from the Tagges, Sana and her allies met with Kho Phon Farrus to discover the whereabouts of Aphra and the Spark….
Writer: Alyssa Wong
Artist: Natacha Bustos
Letterer: Joe Caramagna
Colourist: Rachelle Rosenberg
Cover artist: Ema Lupacchino
Editor: Mark Paniccia
Publication date: February 22, 2023
With the Spark Eternal still very much at the forefront of Doctor Aphra and the wider thread of the era, we dive into issue 29 with a trip to the past as Miril – the leader of the Ascendant – admits that her connection to the Spark is developing, and while it’s is certainly playful and keen to explore it’s not a living ‘thing‘ like the Force, it’s getting there. They land on Pyrr IX, keen to avoid Sith Darkseekers but instead run into Ilith, the Ascendants former left hand Ilith as we step to the present on Pyrr IX as Aphra arrives. She is back in control asking questions as the Spark within replies, informing her about an ancient Ascendent Temple covered in lightsaber blade marks, the two of them sharing Aphra’s body and holding a conversation much like Gollum and Smeagol, only stopped when Triple-Zero proposes a body-splitting solution that brings the same ‘Shut up Triple-Zero!‘ from the pair of them.
With temple entry a problem, BT opens up with full weapons and obilerates the door, allowing them a path to walk through as the Spark feeds images directly into Aphra’s mind, showing her what the Spark saw all those years ago. Aphra notes how similar it is to the temple underneath the University of Bar’leth and the Spark tells her that’s what it was modelled on as the body of Ilith is found. Aphra believes the Sith killed him, but the Spark reveals that they did the deed and we hop back into the past and see that Ilith used the light and dark side to torture and kill the Sith, essentially using the Park as a shield and a blade as Aphra views the battle as Sith Darkseekers enter the temple and a fight ensues as the Spark agrees – that day, they became a weapon as much as a defence.
We hope star systems to the Outer Rim and The Fleeting, where Sana Starros, Korrin Aphra, Detta Yao, Eustacia Okka and Magna Tolvan are all staring down Kho Phon Farrus as she explains how she knows where Qi’ra is and where Aphra are heading, so spacing her wouldn’t help them. Kho explains about the Fermata Cage, it’s devastating power and her idea to use it to capture the Spark. However, activating it may release an ancient Sith and alert Darth Vader and the Emperor, but she explains that Qi’ra hates the Sith and is using the Cage as a lure to capture Vader and Palpatine. Kho plans on stealing it to capture the Spark and escape – a classic heist, but one complicated by the power of the Spark. However, Magna used her electro-tattoos on the Spark and while connected learned everything she needed to incapacitate the Spark.
We head back to Aphra as she watches the past, Ilith taken down by the Sith, Miril ending him to stop his version of the Spark being taken, and Miril’s sadness at being forced to do such an act. In the now, Aphrark picks up a piece of Ilith’s Spark, absorbing it to make themselves whole again – and completely in control of the Doctors body. With the two droids in tow she heads to the Amaxine Station, a huge planet-encompassing construction that marks the end of the issue and another fork in the road as once again Chelli is summerged by the Spark and pieces of the board shift.
Alyssa Wong is proving once again to be a master mover-and-shaker when it comes to these plot twists, setting up plans and altering the playing field so the resulting executions are unbalanced and fascinating for us readers to read. The art by Natacha Bustos is busy and crisp, the colours by Rachelle Rosenberg a luscious treat for the eyes and as the plotline progresses – as far away from the classic, recognisable characters as you could get in such an era – we have little idea where this is going to go. Excellent work for original characters and engrossing reading for lovers of the era.