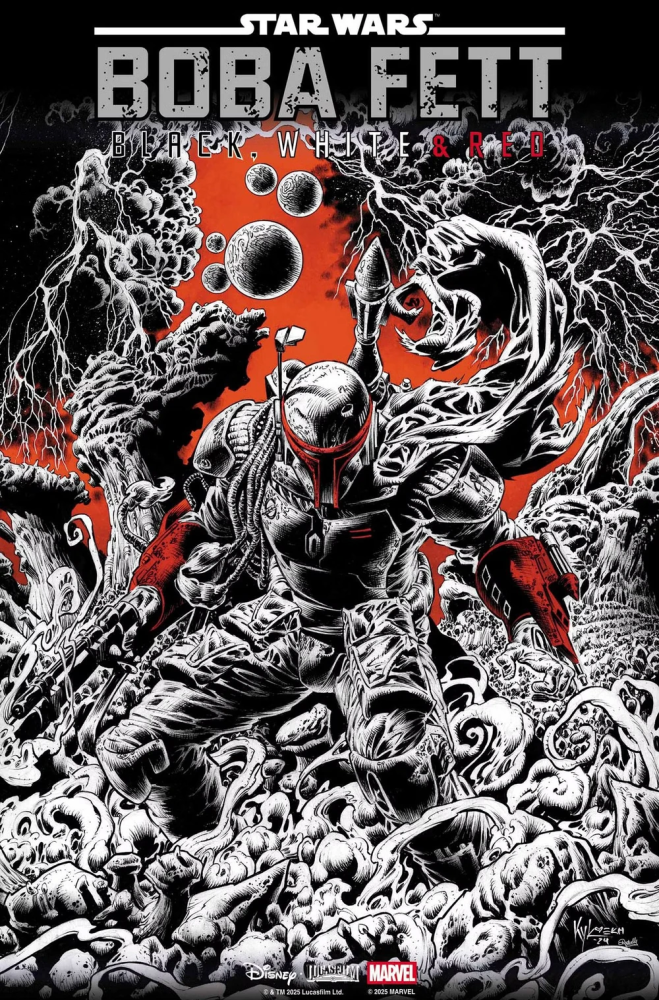
Comic Review: Star Wars: Boba Fett — Black, White & Red #2

- Advertisement -
- Advertisement -

Star Wars: Boba Fett — Black, White & Red #2

PIPER’S PAY

The perfect clone of a legendary bounty hunter.

A ruthless hunter with no allegiance to anyone but himself.

Just a simple man making his way through the galaxy….

Writer: Saladin Ahmed
Penciller: Chris Allen
Artist: Ramon Rosanas
Letterer: Joe Caramagna
Colourist: Ramon Rosanas
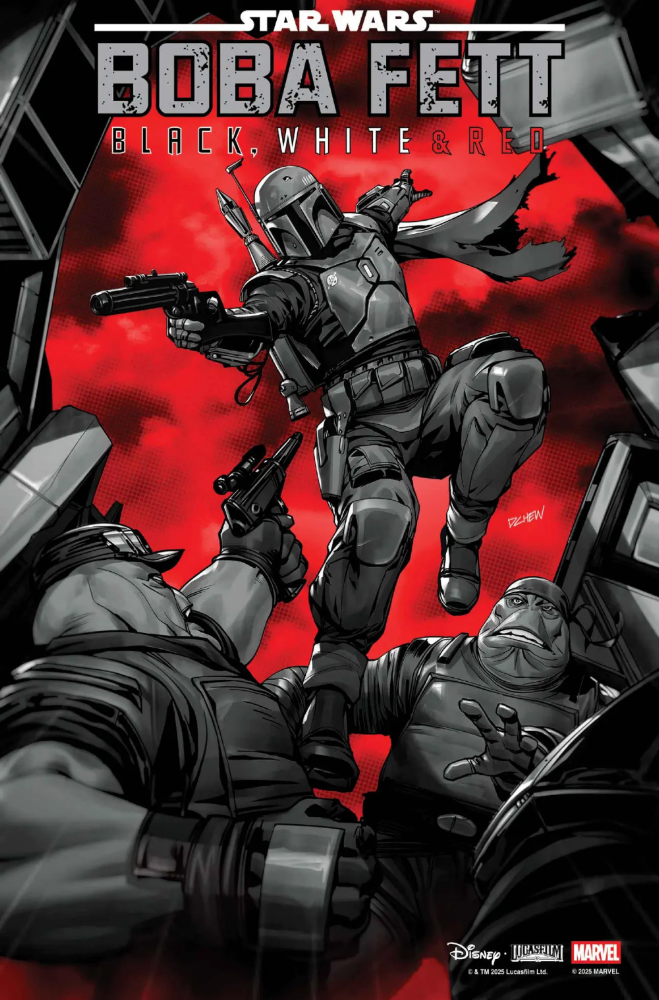
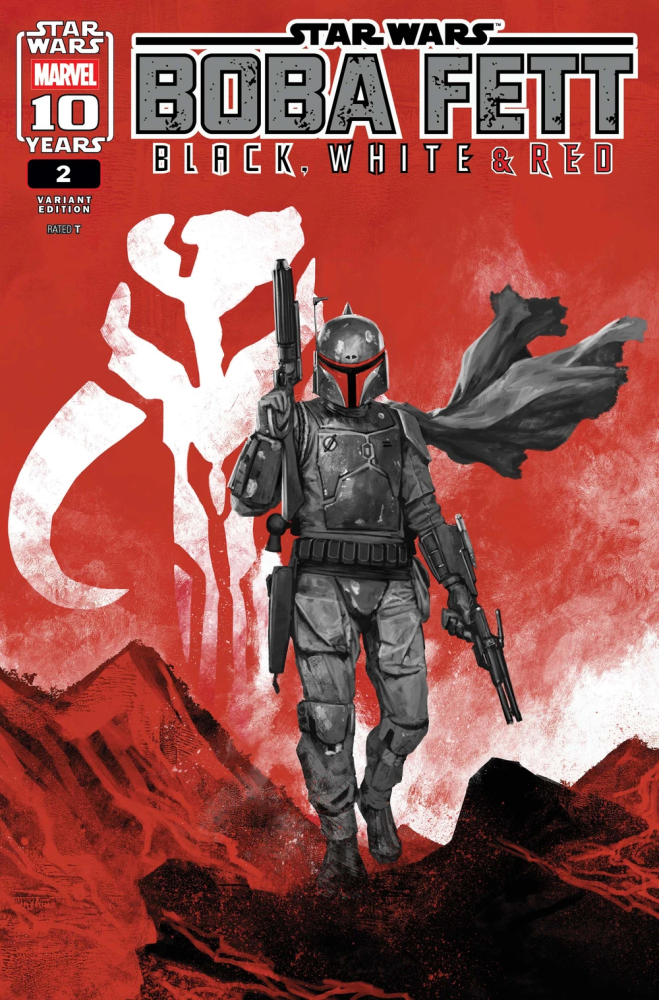
Cover artist: Derrick Chew
Editor: Mark Paniccia
Publication date: October 29 2025

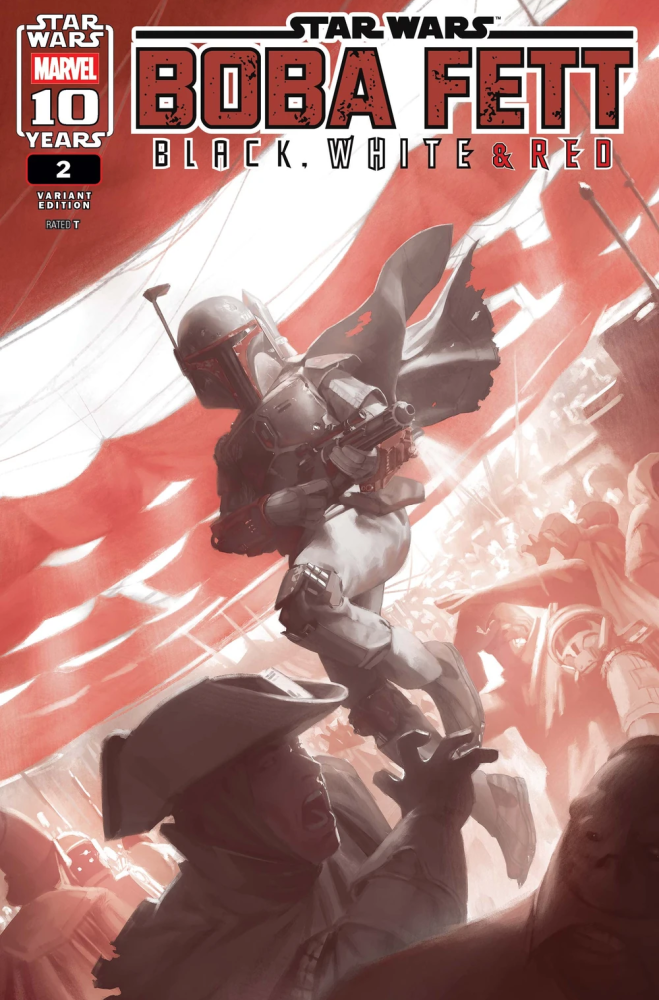
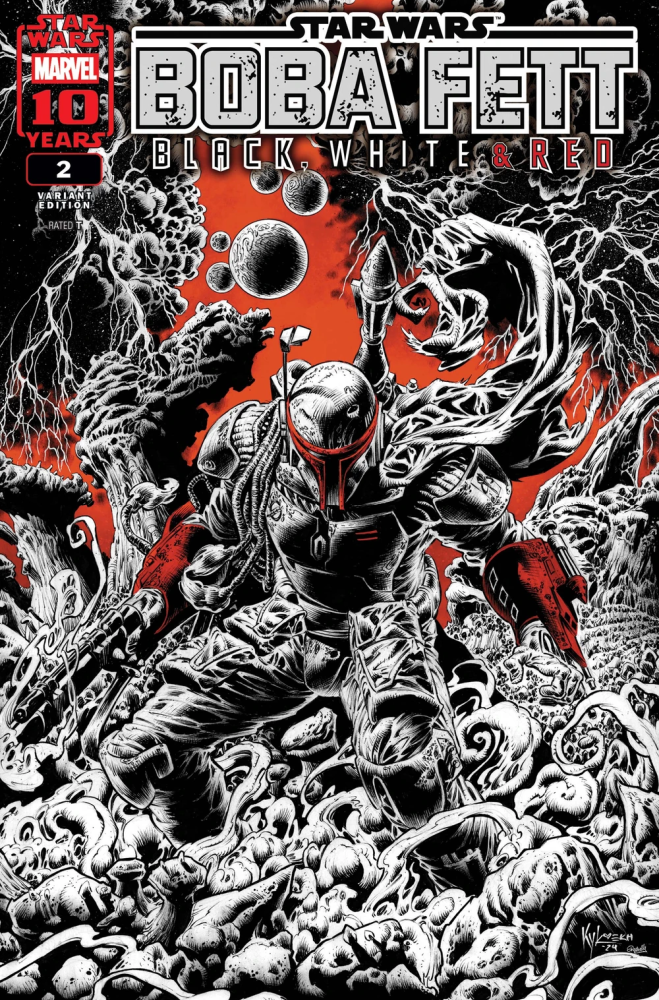
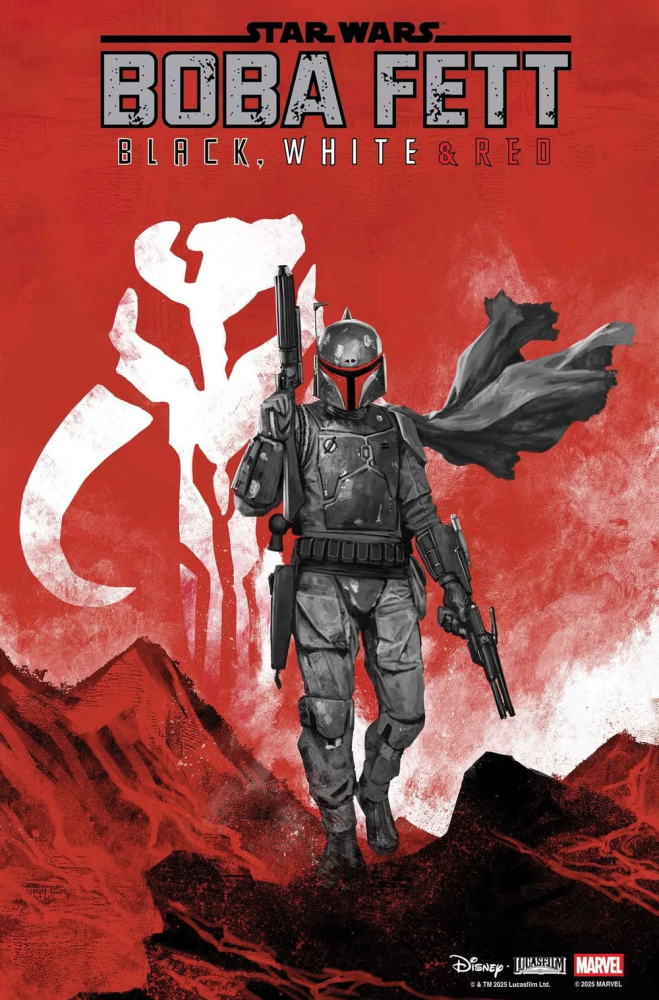
If the first issue of Boba Fett: Black, White & Red showed just what a brilliant mind the unaltered clone of Jango Fett has, the second hones in on his ruthless and relentless proclivity for tracking down a quarry and not giving up, no matter the odds. Absolutely beautifully crafted by artist Ramon Rosanas and with some smart creative choices by writer Derrick Chew (Zeltron’s in a comic that by design only uses black, white and red in its colour pallate?) we kick off on the world of Meddan and a nervous character by the name of Samu the Scurrier who is conversing with a tough looking droid. he’s on the run, looking over his shoulder and worried that his pursuer will track him down. Of course, the very next page reveals that pursuer as Slave 1 hovers above the town, looking down on Samu as he runs – something by his own admisison he’s very good at. He hits the market, trying to lose himself in the throng, and we read his thoughts. He knows exactly who’s after him, but unlike many of his previous escapes, this time he’s genuinely scared.

We enter a cantina, and as the patrons and barkeep bicker we see the familiar, intimidating silhouette of Fett in the doorway, moving in to apprehend Samu, or at leats that’s the plan. We quickly find that Samu is a lot more enterprising than Fett first thought, and the Zeltron he believes is Samu turns out to be someone else entirely, the details of his capture log altered. The droid Samu was speaking with at the top of the issue is there, telling Fett how ‘squirmy’ Samu is, and offering his help, for a price.

Meanwhile, Samu is trying to solicit help, hoping to borrow money to bribe Fett, but only hitting brick walls as no one is willing to lend him the money, while all reminding him of exactly who it is who’s chasing him down, and as he finishes his latest plea he looks up to see Fett hovering above the marketplace on his jetpack and he runs, hurling a dirtbomb packed with soil and shareds to confuse Fett’s sensors, and with a huge KA-POOF! he’s gone, and Fett is thwarted.

Moments later Fett’s sights kick back in and he checks down to see a female Zeltron working through the crowd, and we learn that she’s Samu’s sister who is keen to find her brother before he gets himself killed, and strikes a deal with Fett to – if she agrees to help – take him to Krodos 4, where rather than being executed for his crimes he’d serve his time in a work colony, and Fett agrees. Saddened by what she’s done she gives Fett the details, telling him to hurry as others are after her brother, and we cut to the droid from the beginning of the issue, tied up as three Houks (a species first seen back in 1980 in Brian Daley’s Han Solo and the Lost Legacy) drill him for information before we cut away as they presumably end the droid.

Samu is in the tunnels below, but as he steps out Slave 1 is once again right there hovering on repulsors, and as we see Fett in the cockpit he contacts Samu on his personal frequency, telling him he knows why he’s there, and to meet him in the Northern Scrapyard. Two hours later Samu arrives, but rather than being greeted by Fett he’s met by the three Houks, who have his son hostage. Threatening to kill the boy, Samu agrees to come quetly as long as the boy is released. That’s not good enugh for the boss Houk: he wants Samu to watch his boy die before being killed himself, but just as the blade approaches a blaster shot zips in and we see Fett in the air, telling the Houk that Samu is his. The Houk offers to pay the full bounty, but Fett isn’t interested and a firefight kicks off that sees one Houk shot, another immolated by Fett’s flamethrower and the third caught up in Fett’s grappling rope.

Knowing he’s finally been outsmarted, Samu asks for a moment with his son, and tells his son that he’ll see him again, to which his son replies ‘I’m proud of you, Dad. You’re doing the right thing‘. We wrap this second issue with Samu pltting his escape from Krodos 4, but quickly realising that it will be better to serve his time and see his son again, and the issue ends with Slave 1 blasting away from the planet.

What an absolutely belting issue of Black, White & Red this was, showing the cunning and skill of Fett while also placing in front of him a decision and choice that allows for a sliver of humanity. Yes, there will always be the shadow of his ‘father’s’ death lingering over him, and in circumstances like this that shadow must cast long, but it doesn’t entirely cloud his professional judgement. To the outside world we only see the completion of a bounty, another quarry hunted down, but watching from close-up like this we see the choices laid out and a decision not to tear apart another family for no good reason when there’s a second option available. There’s no doubt he’s the man when it comes to bounty hunting in this era (you’d have to imagine a prime Boba Fett versus a prime Din Djarin would only end one way) but stories like this allow us beneath the helmet, and when crafted so skillfully they enhance that reputation while also giving us a look at shards of a future that were denied to the young clone.

SourceMarvel
Mark Newbold
Mark Newbold
Exploring the galaxy since 1978, Mark wrote his first fan fiction in 1981 and been a presence online since his first webpage Fanta War in 1996. He currently contributes to Star Wars Insider, ILM.com, SkywalkerSound.com and Starburst Magazine, having previously written for StarWars.com, Star Wars Encyclopedia, Build The Millennium Falcon, Geeky Monkey, TV Film Memorabilia and Model and Collectors Mart. He is a four-time Star Wars Celebration Stage host, the only podcaster to have appeared on every Celebration podcast stage since it began in 2015, the Daily Content Manager of Fantha Tracks and the co-host of Making Tracks, Canon Fodder and Start Your Engines on Fantha Tracks Radio.
- Advertisement -
- Advertisement -

Star Wars: Boba Fett — Black, White & Red #2

PIPER’S PAY

The perfect clone of a legendary bounty hunter.

A ruthless hunter with no allegiance to anyone but himself.

Just a simple man making his way through the galaxy….

Writer: Saladin Ahmed
Penciller: Chris Allen
Artist: Ramon Rosanas
Letterer: Joe Caramagna
Colourist: Ramon Rosanas
Cover artist: Derrick Chew
Editor: Mark Paniccia
Publication date: October 29 2025

If the first issue of Boba Fett: Black, White & Red showed just what a brilliant mind the unaltered clone of Jango Fett has, the second hones in on his ruthless and relentless proclivity for tracking down a quarry and not giving up, no matter the odds. Absolutely beautifully crafted by artist Ramon Rosanas and with some smart creative choices by writer Derrick Chew (Zeltron’s in a comic that by design only uses black, white and red in its colour pallate?) we kick off on the world of Meddan and a nervous character by the name of Samu the Scurrier who is conversing with a tough looking droid. he’s on the run, looking over his shoulder and worried that his pursuer will track him down. Of course, the very next page reveals that pursuer as Slave 1 hovers above the town, looking down on Samu as he runs – something by his own admisison he’s very good at. He hits the market, trying to lose himself in the throng, and we read his thoughts. He knows exactly who’s after him, but unlike many of his previous escapes, this time he’s genuinely scared.

We enter a cantina, and as the patrons and barkeep bicker we see the familiar, intimidating silhouette of Fett in the doorway, moving in to apprehend Samu, or at leats that’s the plan. We quickly find that Samu is a lot more enterprising than Fett first thought, and the Zeltron he believes is Samu turns out to be someone else entirely, the details of his capture log altered. The droid Samu was speaking with at the top of the issue is there, telling Fett how ‘squirmy’ Samu is, and offering his help, for a price.

Meanwhile, Samu is trying to solicit help, hoping to borrow money to bribe Fett, but only hitting brick walls as no one is willing to lend him the money, while all reminding him of exactly who it is who’s chasing him down, and as he finishes his latest plea he looks up to see Fett hovering above the marketplace on his jetpack and he runs, hurling a dirtbomb packed with soil and shareds to confuse Fett’s sensors, and with a huge KA-POOF! he’s gone, and Fett is thwarted.

Moments later Fett’s sights kick back in and he checks down to see a female Zeltron working through the crowd, and we learn that she’s Samu’s sister who is keen to find her brother before he gets himself killed, and strikes a deal with Fett to – if she agrees to help – take him to Krodos 4, where rather than being executed for his crimes he’d serve his time in a work colony, and Fett agrees. Saddened by what she’s done she gives Fett the details, telling him to hurry as others are after her brother, and we cut to the droid from the beginning of the issue, tied up as three Houks (a species first seen back in 1980 in Brian Daley’s Han Solo and the Lost Legacy) drill him for information before we cut away as they presumably end the droid.

Samu is in the tunnels below, but as he steps out Slave 1 is once again right there hovering on repulsors, and as we see Fett in the cockpit he contacts Samu on his personal frequency, telling him he knows why he’s there, and to meet him in the Northern Scrapyard. Two hours later Samu arrives, but rather than being greeted by Fett he’s met by the three Houks, who have his son hostage. Threatening to kill the boy, Samu agrees to come quetly as long as the boy is released. That’s not good enugh for the boss Houk: he wants Samu to watch his boy die before being killed himself, but just as the blade approaches a blaster shot zips in and we see Fett in the air, telling the Houk that Samu is his. The Houk offers to pay the full bounty, but Fett isn’t interested and a firefight kicks off that sees one Houk shot, another immolated by Fett’s flamethrower and the third caught up in Fett’s grappling rope.

Knowing he’s finally been outsmarted, Samu asks for a moment with his son, and tells his son that he’ll see him again, to which his son replies ‘I’m proud of you, Dad. You’re doing the right thing‘. We wrap this second issue with Samu pltting his escape from Krodos 4, but quickly realising that it will be better to serve his time and see his son again, and the issue ends with Slave 1 blasting away from the planet.

What an absolutely belting issue of Black, White & Red this was, showing the cunning and skill of Fett while also placing in front of him a decision and choice that allows for a sliver of humanity. Yes, there will always be the shadow of his ‘father’s’ death lingering over him, and in circumstances like this that shadow must cast long, but it doesn’t entirely cloud his professional judgement. To the outside world we only see the completion of a bounty, another quarry hunted down, but watching from close-up like this we see the choices laid out and a decision not to tear apart another family for no good reason when there’s a second option available. There’s no doubt he’s the man when it comes to bounty hunting in this era (you’d have to imagine a prime Boba Fett versus a prime Din Djarin would only end one way) but stories like this allow us beneath the helmet, and when crafted so skillfully they enhance that reputation while also giving us a look at shards of a future that were denied to the young clone.
SourceMarvel
Mark Newbold
Mark Newbold
Exploring the galaxy since 1978, Mark wrote his first fan fiction in 1981 and been a presence online since his first webpage Fanta War in 1996. He currently contributes to Star Wars Insider, ILM.com, SkywalkerSound.com and Starburst Magazine, having previously written for StarWars.com, Star Wars Encyclopedia, Build The Millennium Falcon, Geeky Monkey, TV Film Memorabilia and Model and Collectors Mart. He is a four-time Star Wars Celebration Stage host, the only podcaster to have appeared on every Celebration podcast stage since it began in 2015, the Daily Content Manager of Fantha Tracks and the co-host of Making Tracks, Canon Fodder and Start Your Engines on Fantha Tracks Radio.
- Advertisement -
- Advertisement -
- Advertisement -
Close Popup
Privacy Settings saved!
Privacy Settings

When you visit any web site, it may store or retrieve information on your browser, mostly in the form of cookies. Control your personal Cookie Services here.

These cookies are necessary for the website to function and cannot be switched off in our systems.

Technical Cookies
In order to use this website we use the following technically required cookies
  • wordpress_test_cookie
  • wordpress_logged_in_
  • wordpress_sec

Google Adsense
We use Google AdSense to show online advertisements on our website.
  • _tlc
  • _tli
  • _tlp
  • _tlv
  • DSID
  • id
  • IDE

One Signal
For performance reasons we use OneSignal as a notification service.  This saves a number of cookies in order to apply notifcation services on a per-client basis. These cookies are strictly necessary for OneSignal's notification features.  It is essential to the service that these are not turned off.
  • _OneSignal_session
  • __cfduid
  • _ga
  • _gid

Affiliate Links
Fantha Tracks is reader-supported.  When you buy through links on our site, we may earn an affiliate commission.

Media Net
We use Media Net to show online advertisements on our website.
  • SESS#

Decline all Services
Save
Accept all Services
Mastodon